[title]
[message]
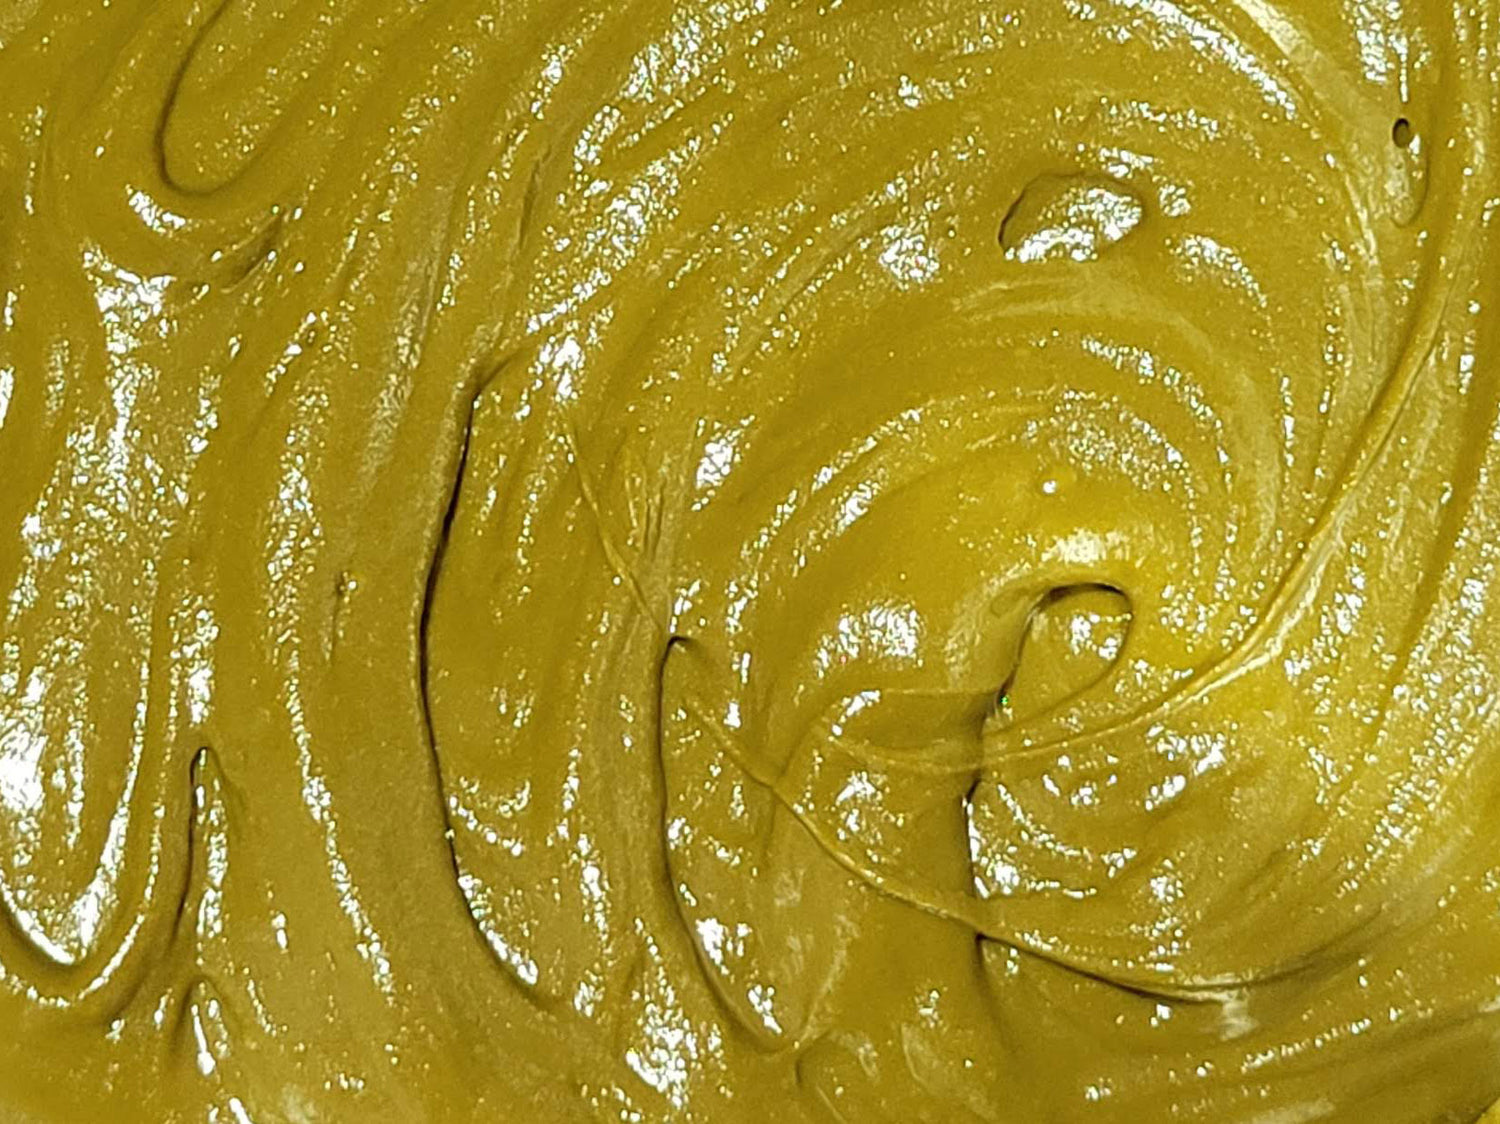
Experience hassle-free henna application with our quick and easy straining method, ensuring the smoothest, clump-free, silky henna. Say goodbye to henna clogs!
For a mess-free staining process, check out this 2-minute video. Detailed written instructions are provided below for your convenience.
Materials needed:
Instructions:
The first time you use the nylon may be challenging, but it becomes easier after one or two uses.
The henna left in the stocking are the bits that would have clogged applicators. The carrot bag makes it easy to fill henna cones or applicator bottles. Consider cutting a slightly larger opening in the carrot bag for easier filling.
Following these steps should take 5 minutes or less once you get the hang of it. Enjoy your henna application!
Don't be alarmed when the stain starts off light. It takes 2-3 days to darken. You don't have to do anything special for this to happen; it's simply the magic of henna. Okay, it's the chemistry of henna, but it's positively magical!
Watch this video of getting a henna cone ready to use. It's less than a minute long!
Please take a moment to "Like" the video and maybe even subscribe
to my You Tube channel. It really helps small businesses like me.

Faux freckles are super cute and super fun! Creating temporary freckles is safe and is an easy DIY beauty project.
Don't worry! Henna freckles only last 2-5 days. If you don't get it perfect, you don't have to live with it very long and you can try again.
There are some differences between henna freckles and traditional henna tattoos done on other parts of the body.
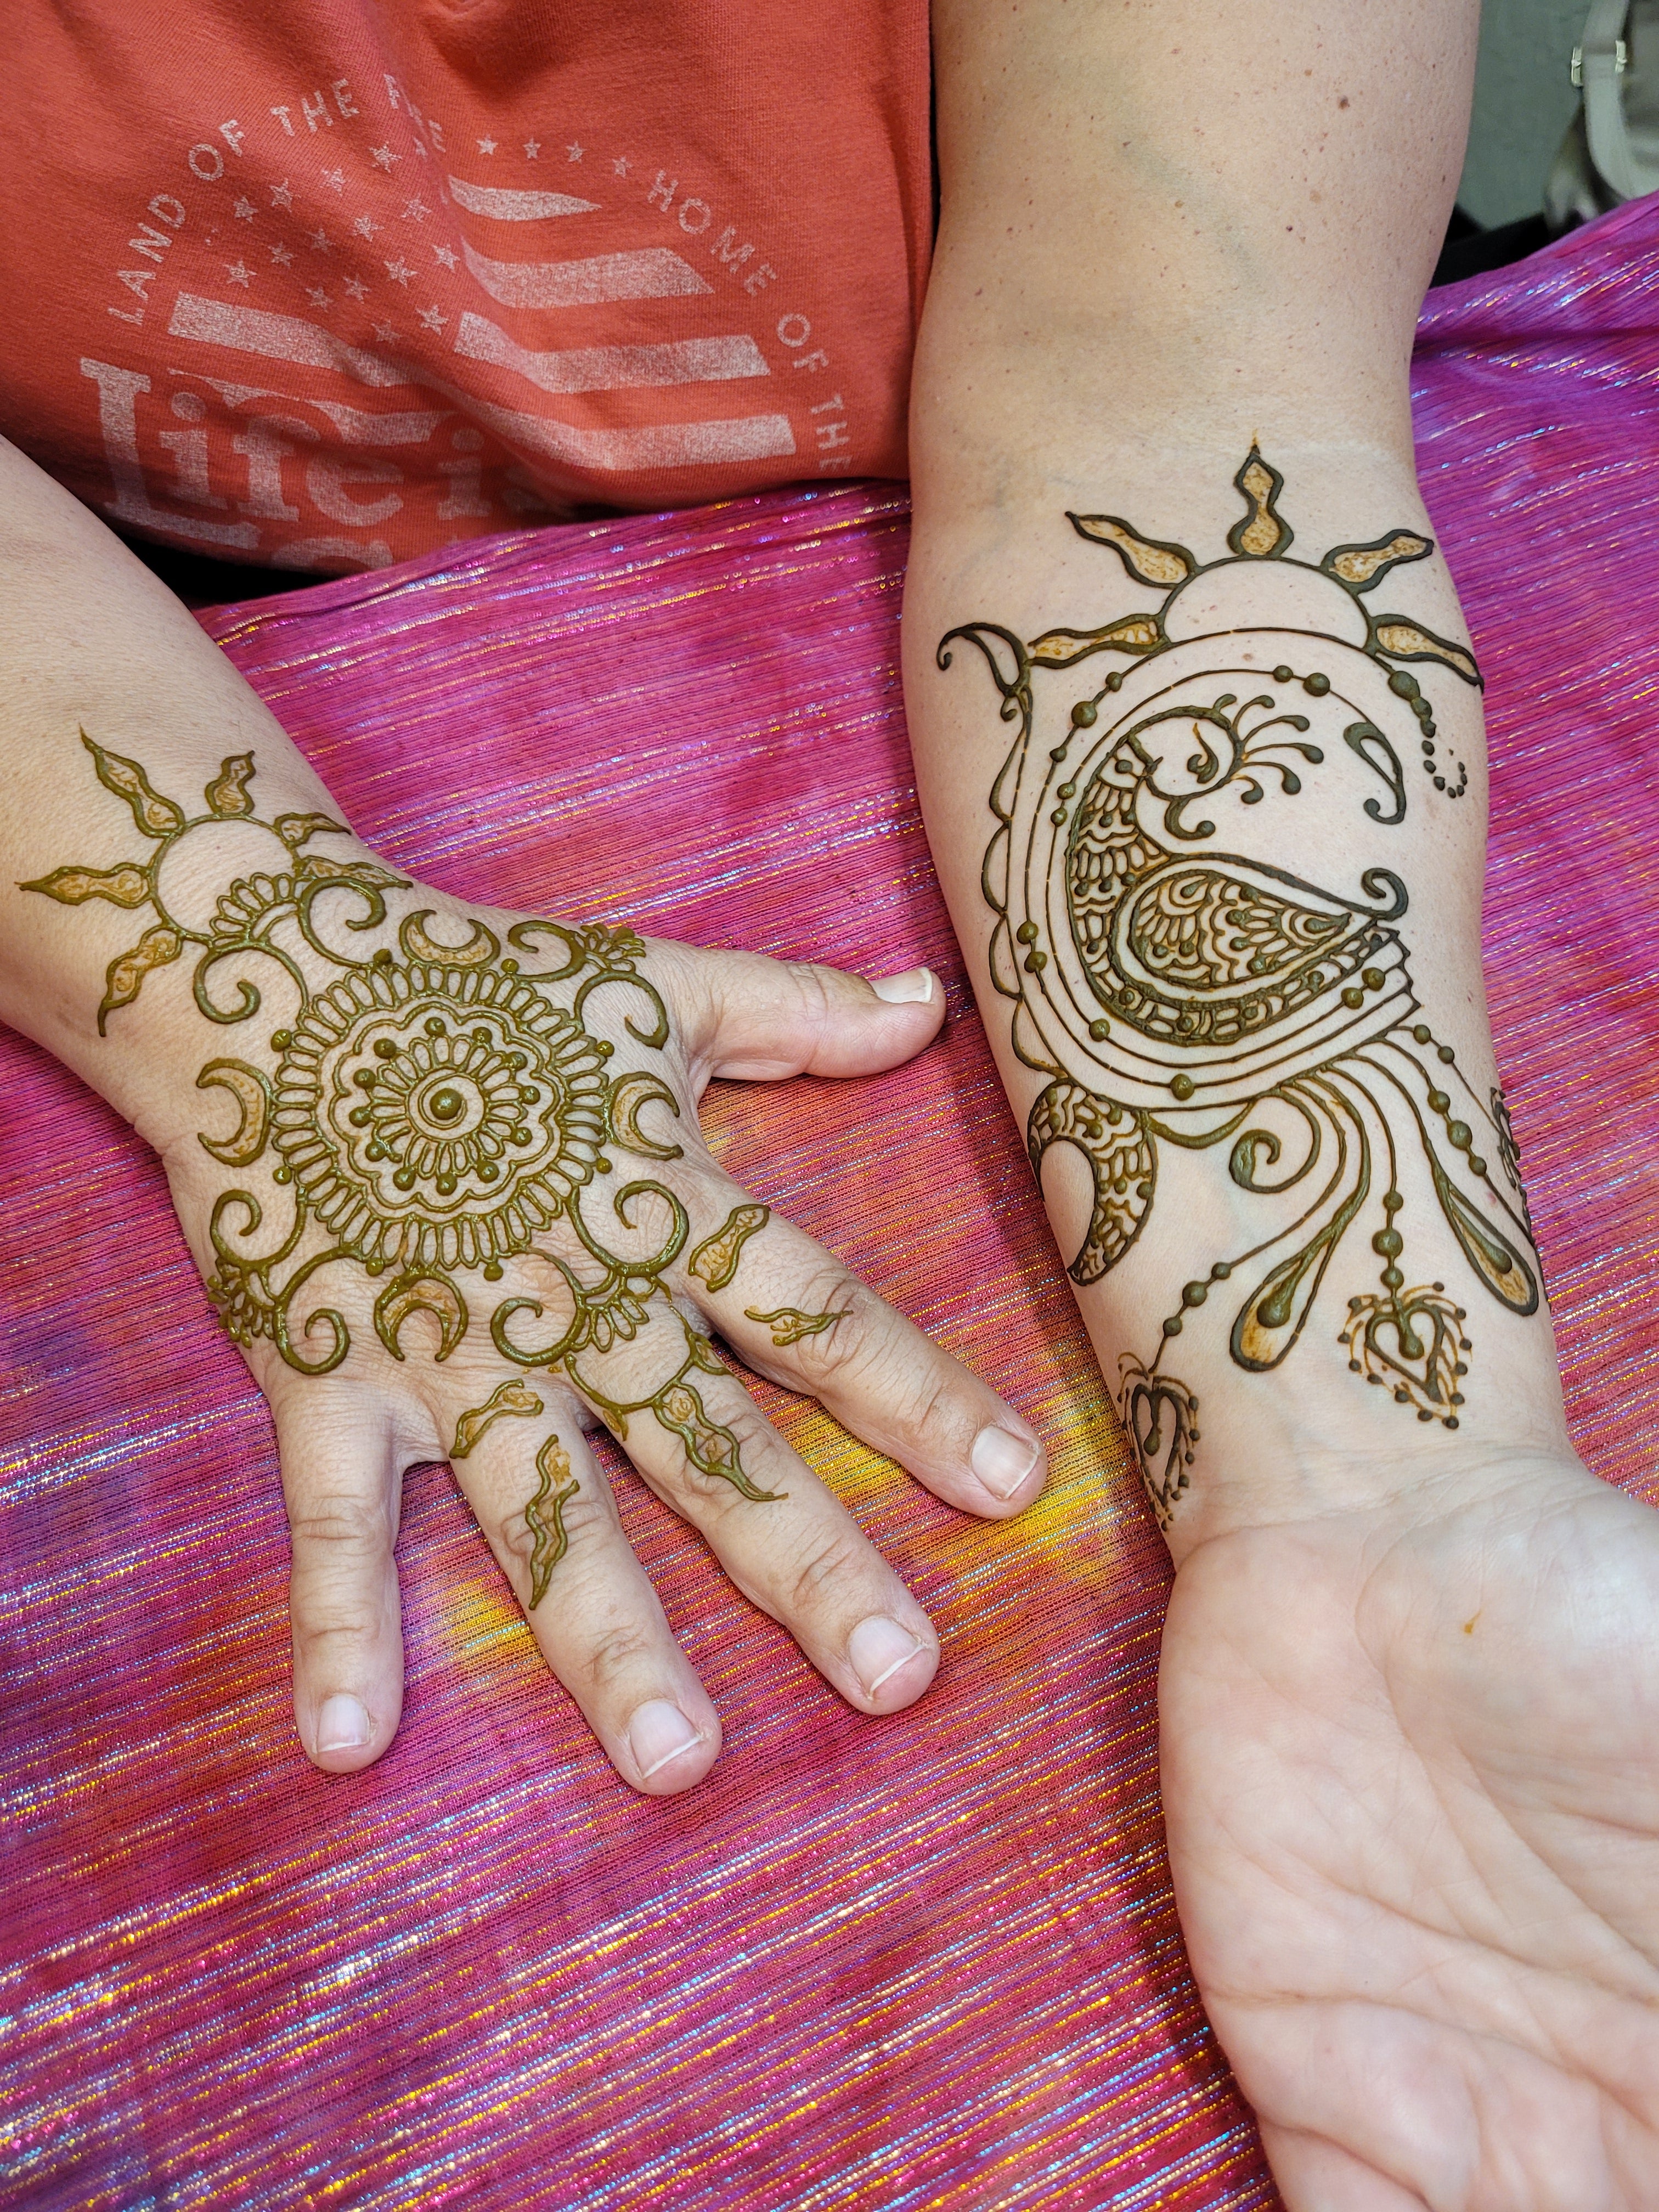
The pictures here are taken from actual client reviews using our natural henna cones.
Final color depends on a bunch of factors (how oily your skin is, where it is in its exfoliation process, your skin tone, your pH level, how warm your skin is, what type of facial lotions you use, and more).
If your henna freckles are too light, leave the henna on longer. Don't use water when you remove the henna. If you are using pre-mixed henna, try mixing your own from our ORa henna using the recipe below.
If your freckles are too dark, you can cut back on the essential oils for a lighter color and/or decrease the amount of time you leave the henna on the skin.
NOTE: Freeze unused henna for future use
Though all our henna (including our premixed henna) is safe to use on skin, facial skin is REALLY sensitive, and the eyes are VERY sensitive to essential oils. For facial freckles, I suggest mixing henna from our ORa henna powder with lavender oil.
Our normal henna mix will work perfectly for freckles, but the skin on the face is fragile and often super-sensitive. I suggest the below henna mix for henna on the face or other sensitive skin.
Mix all ingredients together and set aside for 2-5 hours to allow dye release. Since this recipe calls for water rather than lemon juice, if you are not using it right away, this must be stored in the refrigerator if it will be used in 24 hours. If not using for longer than 24 hours, store FROZEN.
PRO TIP: It's easier to thin your henna, than to thicken it. Start off thick and slowly thin to your desired texture.
* Tea Tree oil can leave a slightly better stain but is not quite as gentle as lavender oil.
Below is information on our current henna powders. We purchase henna directly from growers, not third-party distributers.
2024 Crop *The Henna in All Kits*

Embrace excellence with our signature henna powder, ORa – a remarkable powerhouse that stands out with a stringy texture and dark color.
Whether you're a novice or an expert, it is my top recommendation. It's my own henna of choice that I use on my clients.
2024 Crop

Jamila henna is the most well-known professional-grade henna powder, due to it's wonderful sift and creamy consistency. It has been around for many years and consistently offers good color.

I recommend preparing your own mehndi paste using our fresh henna powder. The most optimal color results and the ability to tailor the texture to personal preferences come from mixing your own paste.
Recognizing, however, that not everyone finds it practical to mix their own henna, we've worked hard to provide you with a high-quality, ready-made henna paste.
Our ready-made henna paste is crafted exclusively for us, undergoes flash freezing, and is then express-shipped to us. Upon arrival, it undergoes a thorough quality check and is stored in our in-house freezers. We are committed to delivering a ready-to-use henna paste that is fresh, contains safe ingredients, and is entirely free from harmful chemicals.
Henna paste must be stored frozen.
Consider our Big Bad Henna Kit which contains BOTH paste and powder!
This deserves it's own page! Learn exactly how I mix my own henna, along with the science of how henna works. This is how you'll get great henna stains and beautifully managable paste.
This can be a challenge for some people, but controlling the size and shape of your henna cone is worth the effort! Watch this video on rolling henna cones. Written instructions are below.
This video shows BOTH how to roll a cone with a closed tip and an open tip. It also shows you how to get different cone shapes, and shares why I roll my cones they way that I do.
Please take a moment to "Like" the video and maybe subscribe to my You Tube channel. It really helps small businesses like me.

You can cut cello triangles yourself but, I highly recommend buying pre-cut cello. We offer pre-cut cellophane triangles at great prices.
Pro tip: Make extra henna cones and freeze them for convenient future use.
Although henna bottles are convenient and ideal for beginners, they can become strenuous on the hands over time. Many henna artists eventually opt for using the more flexible cello cones for henna application.
We provide a variety of cello flats for crafting your own cones, offering excellent value. This option allows you to customize the size and shape of your cones to your preference.
For those who prefer convenience, we also offer pre-rolled cones, which come in a larger size but can be easily trimmed down to smaller dimensions. You can control the size, but not the shape of these cones.
Additionally, we stock carrot bags specifically designed for filling cones and bottles, rather than directly applying henna.
| Type |
Applying Henna |
Storing Henna | Filling bottles | Notes |
 Cello Flats |
X | X | X | You control size and shape. Creates mini to medium sized cones. This is my preference. |
 Rolled Cones |
X | X | X | Large cone size - already rolled. |
 Carrot Bags |
X | X | Huge size is specifically for filling cones and bottles and is used when straining henna. |
I prefer the small size cello triangles for crafting my henna cones. I like a small thin cone while applying henna. Additionally, I create a stash of extra-small "single-serve" henna cones for individual appointments, ensuring I always have them readily available with little waste.
Applicator bottles make doing henna easy - even for beginners!
TIPS:
Keep stainless steel metal tips from degrading, clogging, or breaking by taking good care of them. With proper care metal henna tips can be used for years.
Avoid allowing henna to dry in applicator tips. If you can't clean your tips right away, put them in a cup of clean water until you can clean them properly. Clean and dry the metal henna tips as soon as possible.
Transfer paper is great for doing complicated or symmetrical designs such as Celtic knots. Anything you can't freehand, can be done with transfer paper to get perfect results.
This is the same transfer paper that is used in tattoo shops. You trace any design you want, creating a transfer. Apply the transfer to your skin and henna over it. The first time you wash, the transfer lines go away and you are left with a henna tattoo that is perfectly done!
This short video quickly shows how to use transfer paper.
Please take a moment to "Like" the video and maybe subscribe to my You Tube channel. It really helps small businesses like me.
We make our own transfer paper activator using distilled water, rubbing alcohol, and glycerin so that it doesn't interfere with getting a good henna stain. Do not use deodorant, as it can effect your henna stain.
To make our transfer paper activator mix 80% distilled water, 10% rubbing alcohol, and 10% glycerin together.
Love it? Add to your Favorites
Your favorites, all in one place. Shop quickly and easily with the wishlist feature!